Styling Lines
Installed TileMill on your computer.
Reviewed Crash Course
Line styles can be applied to both line and polygon layers. The simplest line styles have just a line-width (in pixels) and a line-color making a single solid line. The default values for these properties are 1 and black respectively if they are not specified.
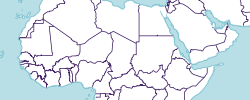
// country land borders
#admin_0_lines {
  line-width: 0.75;
  line-color: #426;
}
Dashed lines
Simple dashed lines can be created with the line-dasharray property. The value of this property is a comma-separated list of pixel widths that will alternatively be applied to dashes and spaces. This style draws a line with 10 pixel dashes separated by 4 pixel spaces:

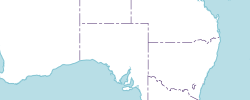
#admin_1_line {
  line-width: 0.5;
  line-color: #426;
  line-dasharray: 10, 4;
}
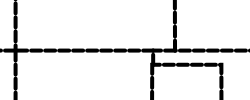
You can make your dash patterns as complex as you want, with the limitation that the dasharray values must all be whole numbers.
#admin_1_line {
  line-width: 0.5;
  line-color: #426;
  line-dasharray: 10, 3, 2, 3;
}
Caps & Joins
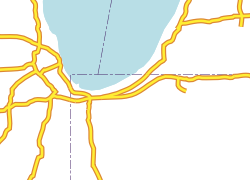
With thicker line widths you’ll notice long points at sharp angles and odd gaps on small polygons.

#countries::bigoutline {
  line-color: #9ed1dc;
  line-width: 20;
}
You can adjust the angles with the line-join property: round or square them off (the default is called miter). The gaps can be filled by setting line-cap to round or square (the default is called butt).

#countries::bigoutline {
  line-color: #9ed1dc;
  line-width: 20;
  line-join: round;
  line-cap: round;
}
For dashed lines, line-caps are applied to each dash and their additional length is not included in the dasharray definition. Notice how the following style creates almost-solid lines despite the dasharray defining a gap of 4 pixels.
#layer {
  line-width: 4;
  line-cap: round;
  line-dasharray: 10, 4;
}
Compound line styles
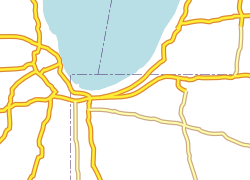
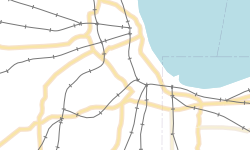
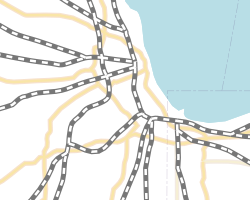
Roads
For certain types of line styles you will need to style and overlap multiple line styles. For example, a road with casing:
#roads[Type='Major Highway'] {
  ::case {
    line-width: 5;
    line-color:#d83;
  }
  ::fill {
    line-width: 2.5;
    line-color:#fe3;
  }
}
Dealing with multiple road classes, things get a little more complicated. You can either group your styles by class or group them by attachment. Here we’ve grouped by class (filtering on the Type column).
#roads {
  [Type='Major Highway'] {
    ::case {
      line-width: 5;
      line-color:#d83;
    }
    ::fill {
      line-width: 2.5;
      line-color:#fe3;
    }
  }
  [Type='Secondary Highway'] {
    ::case {
      line-width: 4.5;
      line-color:#ca8;
    }
    ::fill {
      line-width: 2;
      line-color:#ffa;
    }
  }
}
Railroads
A common way of symbolizing railroad lines is with regular hatches on a thin line. This can be done with two line attachments - one thin and solid, the other thick and dashed. The dash should be short with wide spacing.
#railroads {
  ::line, ::hatch { line-color: #777; }
  ::line { line-width:1; }
  ::hatch {
    line-width: 4;
    line-dasharray: 1, 24;
  }
}
Another common railroad line style is similar, but with a thin dash and a thick outline. Make sure you define the ::dash after the ::line so that it appears on top correctly.
#railroads {
  ::line {
    line-width: 5;
    line-color: #777;
  }
  ::dash {
    line-color: #fff;
    line-width: 2.5;
    line-dasharray: 6, 6;
  }
}
Line patterns with Images
Certain types of line pattens are too complex to be easily achieved with regular compound line styles. TileMill allows you to use repeated images alongside or in place of your other line styles. As an example we’ll make a pattern that we’ll use to represent a cliff. To do this you’ll need to work with external graphics software - we’ll be using Inkscape in this example.
In Inkscape (or whatever you are using), create a new document. The size should be rather small - the height of the image will be the width of the line pattern and the width of the image will be repeated along the length of the line. Our example is 30x16 pixels.
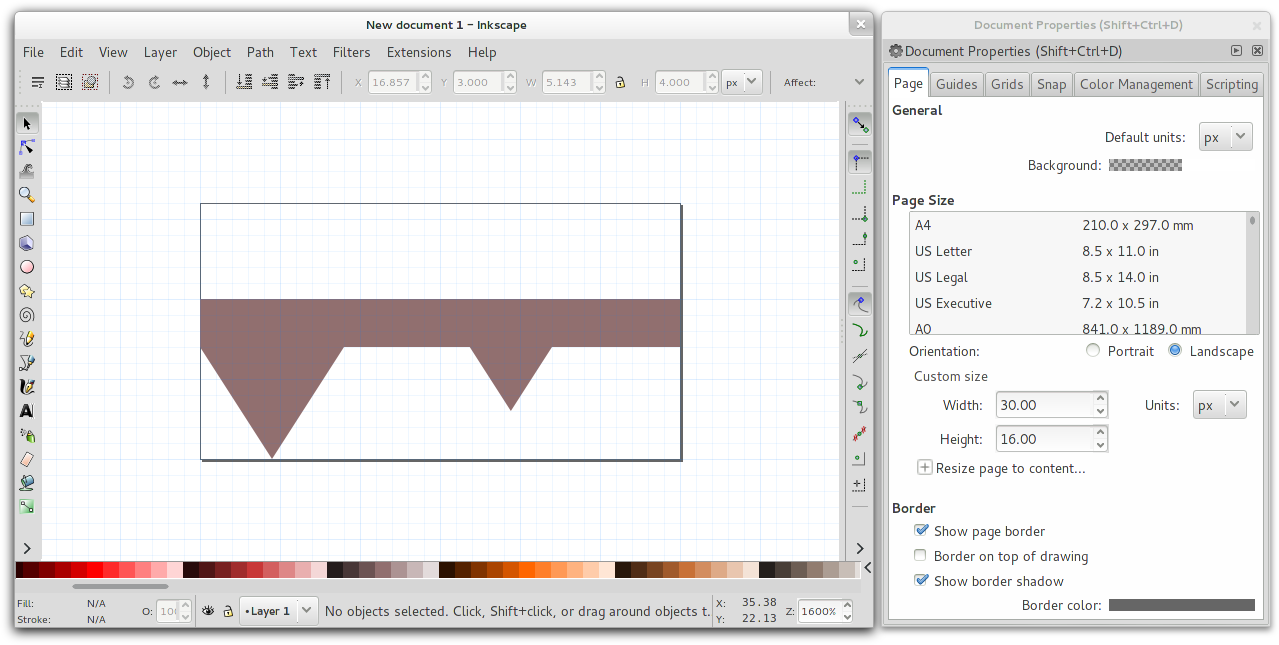
Note how the centerline of the pattern is centered on the image (with empty space at the top) for correct alignment with the line data.
To use the image from Inkscape, export it as a PNG file. Line patterns just need a single CartoCSS style to be added to your TileMill project:

#cliff {
  line-pattern-file: url(cliff.png);
}
For some types of patterns, such as the cliff in this example, the direction of the pattern is important. The bottom of line pattern images will be on the right side of lines. The left side of the image will be at the beginning of the line.