CartoCSS
If you are familiar with web design with CSS, the format of TileMill’s styling language will look familiar, though the exact properties are quite different.
TileMill includes a CartoCSS reference accessible by clicking the {}
button, and there’s an online CartoCSS reference by Mapbox.
Symbolizers
Mapnik, the rendering software TileMill is built upon, provides a number of fundamental style types out of which to build complex styles. Each type is called a symbolizer, and has its own set of configurable properties.
There are currently 10 different symbolizers available in Mapnik, each of which can be applied to a certain type or types of geometry:
- Line (for lines & polygons)
- Polygon (for polygons)
- Point (for points)
- Text (for points, lines, and polygons)
- Shield (for points & lines)
- Line Pattern (for lines & polygons)
- Polygon Pattern (for polygons)
- Raster (for rasters)
- Markers (for points, lines, & polygons)
- Buildings
Note that these polygon symbolizers can technically be assigned to line geometries, but usually with unexpected or unsatisfactory results and is not really recommended.
Multiple symbolizers can be applied to the same layer - some common combinations are line & polygons, point & text, line & markers, and line & line pattern.
A symbolizer is not present on the map unless it has a style defined, but once one of its style properties is added to the stylesheet default values will apply to the other properties for that symbolizer unless overridden. For example, the default line symbolizer color is black, so if you assign a line-width to a layer that line will be black unless you also assign a different color.
Multiple symbolizers
A single layer is not limited to one of each symbolizer type. For example, multiple semi-transparent line symbolizers can be assigned to a polygon to achieve a soft glow or shadow effect. Multiple text symbolizers can be assigned to the same point with different offsets to label it with more than one field.
Normally when you assign a style to a layer, the style applies to a default symbolizer that is created. In the following example, the second rule overrides the first one because they both apply to the default symbolizer.
#layer {
   line-color: #C00;
   line-width: 1;
}

#layer {
   line-color: #0AF;
   line-opacity: 0.5;
   line-width: 2;
}
You can explicitly declare any number of new symbolizers for a layer that will be rendered in addition to styles they would otherwise conflict with. New symbolizers are defined using a double colon syntax inspired by pseudo-elements in CSS3:
#layer {
   /* styles for the default symbolizers */
}
#layer::newsymbol {
   /* styles for a new symbolizer named ‘newsymbol’ */
}
Note that newsymbol is not a special keyword but an arbitrary name chosen by the user. To help keep track of different symbolizers you can name additional symbolizers whatever makes sense for the situation. Some examples: #road::casing, #coastline::glow_inner, #building::shadow.
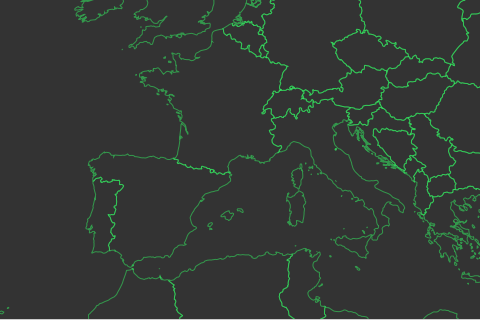
Returning to our previous example, declaring the second rule will add a blue glow on top of the red line instead of replacing it:
#layer {
   line-color: #C00;
   line-width: 1;
}

#layer::glow {
   line-color: #0AF;
   line-opacity: 0.5;
   line-width: 4;
}
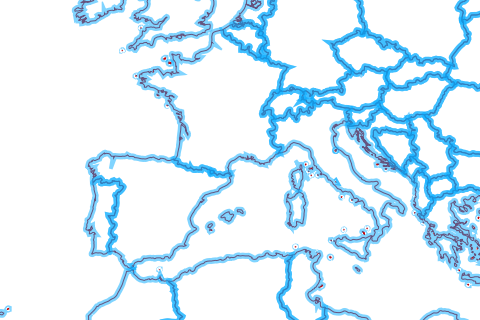
Symbolizers are rendered in the order they are defined, so here the ::glow (blue line) appears on top of the first style (red line).
Named symbolizer styles can still be overridden by further styles that reference the same symbolizer name. In this example, the line color will be green, not green-on-yellow.
.border::highlight {
   line-color: #FF0;
   line-opacity: 0.5;
}

.border::highlight {
   line-color: #3F6;
}