Adding a shapefile layer
Installed TileMill on your computer.
Reviewed Crash Course
Before you begin, you will need a shapefile (a set of four files with the extensions: .shp, .dbf, ,shx, and .prj) that contains the data that you want to map. TileMill supports a number of the most commonly used geospatial formats, you can read more about the types of supported layers here.
There are a number of resources to obtain shapefile data for the area or issue you want to map. You may also have generated your own data in shapefile format and want to map it alongside other data.
If you need to do additional manipulation or edit your shapefile, you can use free open-source software like QuantumGIS to work with shapefiles. LibreOffice (or OpenOffice) are also free and allow you to edit the .dbf file, or the file with attribute data.
For practice, we’ll add a tectonic plates boundary shapefile downloaded from the Institute for Geophysics at University of Texas. Here is a direct link to the zip file.
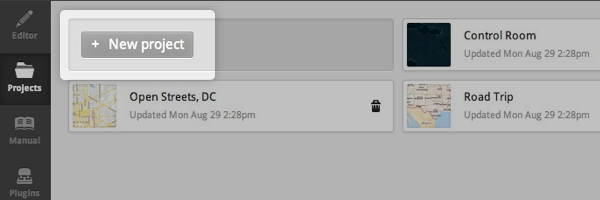
- Start TileMill and click on the Add project button.
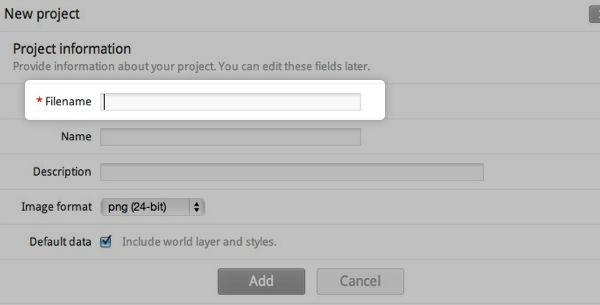
- Enter a name for your project and click Add. You can leave the other fields alone for now.
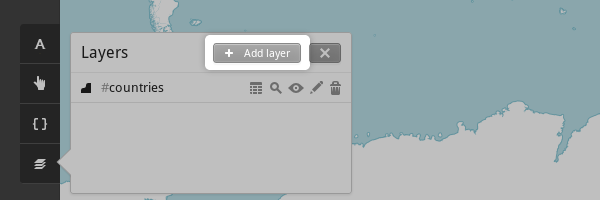
- Click on the new project to open it. The project contains a default layer called
#countriesstyled with some example CartoCSS code. - To add a shapefile layer, click Add layer.
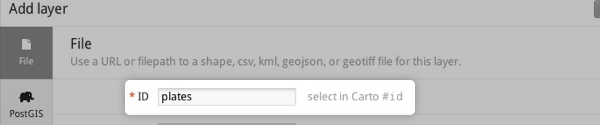
- Enter
platesin the ID field. You’ll use this ID to reference this layer in CartoCSS selectors.
- For the Datasource field, click Browse to find the
trench.shpshapefile located on your computer. You can browse your folders to find the source of your shapefile.

- Click your file to fill in the Datasource field and then click Done to confirm your selection.
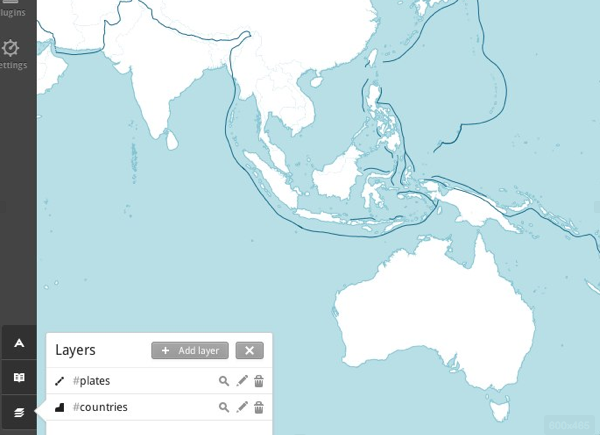
- Click the Save & Style button. This will add the layer to your project and insert a default CartoCSS rule for the layer.

- Preview the result in the map preview pane.
Learn more about styling lines