Adding MapBox Geodata
If you've found yourself on this page, we're assuming you've
Installed TileMill on your computer.
Reviewed Crash Course
The MapBox GeoData Library is a collection of free datasets that have been optimized to work well with TileMill and offer an excellent source for geographic data. For more details about the MapBox GeoData Library, see our technical reference.
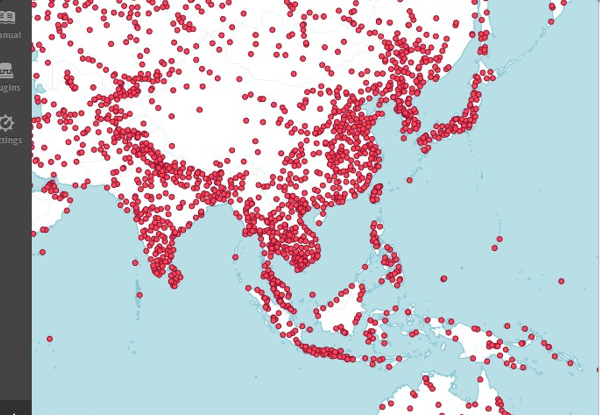
For this guide, we’ll add a layer of populated places around the world.
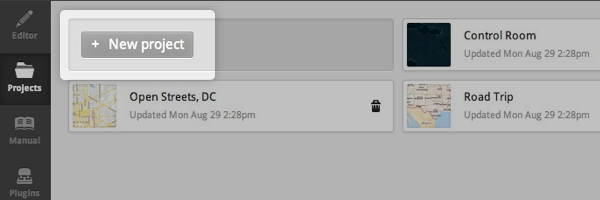
- Start TileMill and click on the Add project button.
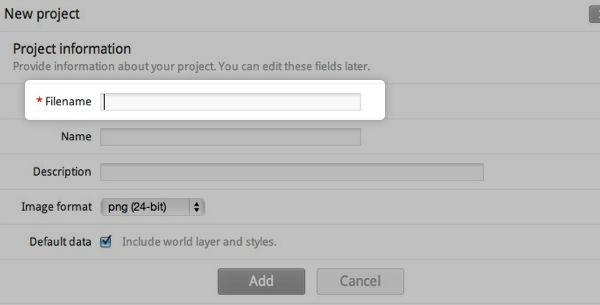
- Enter a name for your project and click Add. You can leave the other fields alone for now.
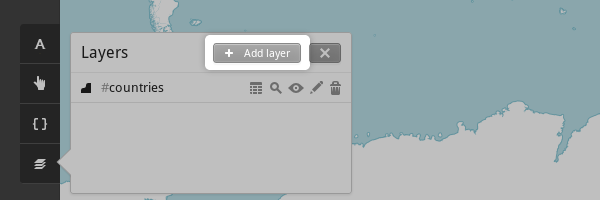
- Click on the new project to open it. The project contains a default layer called
#countriesstyled with some example CartoCSS code. - Click Add layer.
- Enter
citiesin the ID field. You’ll use this ID to reference this layer. - For the Datasource field, click Browse to navigate to the MapBox GeoData library.
- Click the MapBox button to navigate to the library.

- Select the geodata file you would like to add to your project. Here we will navigate to
natural-earth-1.4.0-cultural/-10m-populated-places-simple.zip.

- Click Done to confirm your selection.
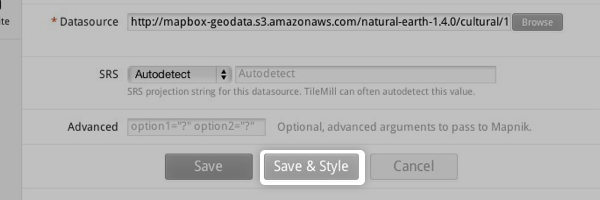
- Click the Save & Style button to add the layer to your project and insert a default CartoCSS rule for the layer.
- Preview the result in the map preview pane.
Misson complete! Next up
Try out styling lines
Learn about styling labels